Table of Contents
Transferring music from a computer to an iPhone is routine and artistic, needing the ideal balance of customization and attention to detail. This article concentrates on transferring iTunes music to iPhone for Mac and PC users and lays out simple methods for transferring music. It provides other explanations and suggestions as well. You can listen to all your favorite songs without problems using this method, regardless of how much or how little music you listen to.
Setting the Stage: Preliminary Steps
Before we enter, let’s make sure we’re all on the same page by creating a short checklist:
- Install iTunes: First, get the most current version from Apple’s official website to ensure you have the latest features and compatibility.
- Keep iTunes Updated: Make sure to periodically check for updates by navigating to Help > Check for Updates on your PC or the App Store on your Mac. Make sure iTunes is up to date for a trouble-free experience.
- One-Way Synchronization: You should be aware that iTunes only allows one-way synchronization before you begin moving music from your PC to your iPhone. It is not possible to transmit music backward using it.
- Troubleshooting iTunes: If the issues persist, try downloading a fresh version from the iTunes website and reinstalling it. You may restore your iTunes library data from a backup to ensure everything is intact.
Connecting Your iPhone to iTunes
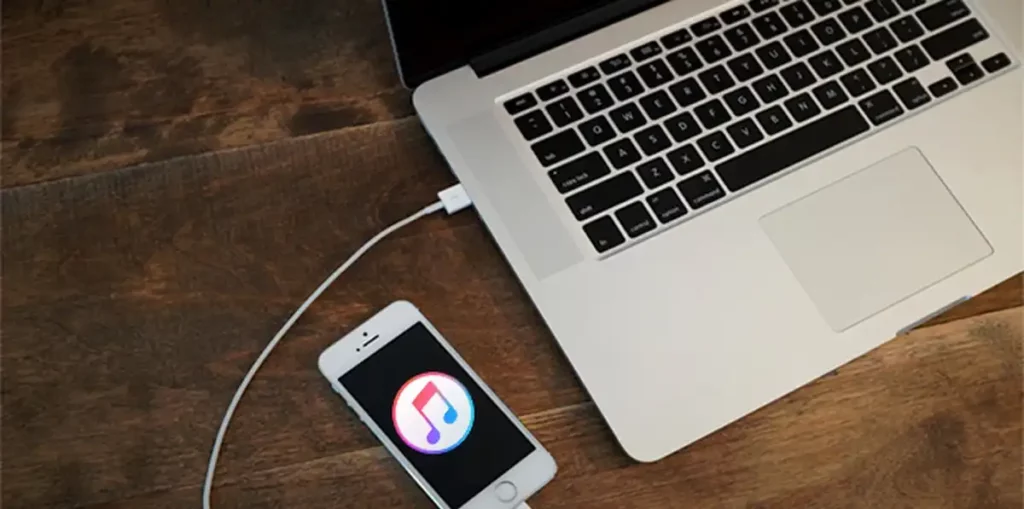
Use a USB Cable: To establish a physical connection for data transfer, use a standard USB cable to connect your iPhone to your computer.
Launch iTunes: Check that the iTunes software on your computer can identify the connected iPhone before opening it.
Select iPhone Icon: To verify that your device is connected, actively click the iPhone icon in the iTunes window’s upper left corner.
Expand and Select: Your iPhone should be shown under “Devices” on the left. Expand the item to choose from various media, including music, videos, and podcasts.
Automatic Music Transfer from iTunes
Anyone who would prefer not to engage in the music transfer process actively might find it simpler with the automatic sync technique:
Check Storage Space: Before you start the transfer, ensure your iPhone has adequate storage to hold your whole music library.
Navigate to Music Tab: Select the Music option on the left side of the screen to get an overview of your choices for music.
Enable Sync Music: To tell iTunes to sync your music library with your iPhone, check the “Sync Music” option.
Choose Transfer Method: By actively participating, decide whether to transfer your music or just specific playlists, artists, albums, or genres.
Initiate Transfer: Click Apply to start the music transfer process automatically. You may instruct iTunes to sync your iPhone with the selected songs by doing this.
Sync and Replace: If iTunes notifies you that it can only sync with one library at a time, carefully read the message and choose Sync and Replace to proceed.
Manual Music Transfer from iTunes
For individuals who want greater control over their music collection, the manual synchronization approach offers a personalized touch:
Access Summary: Actively navigate to the Summary section in the left panel of iTunes, where you can access an overview of your device settings.
Enable Manual Management: If you want complete control over the material on your iPhone, make sure that the “Manually manage music and videos” option is selected.
Apply Changes: Click Apply to start manually controlling the music and permanently change the manual sync settings.
Explore Library: Your iTunes library is fully shown in the left pane, which you may use to choose songs, albums, artists, or genres actively.
Drag and Drop: Drag songs from iTunes’ main window onto your iPhone using the left pane to see it. This is quite tactile and gives you much control over the transfer process.
Ctrl/Command Selection: To quickly choose several tracks, click on each song while holding down the Ctrl or Command key.
Playlist Efficiency: To actively streamline the procedure, use iTunes playlists. Playlists may be easily synchronized by dragging and dropping them onto the iPhone symbol in the left pane, saving you time and effort.
Conclusion
Transferring iTunes music to iPhone is an exploration of well-chosen music listening, not simply a nuisance. iTunes provides an easy-to-use platform for automatic and manual methods, should you choose the latter for ease and accuracy. Keep iTunes updated and understand how one-way synchronization works for a seamless and pleasant music transfer. With the simplicity and customization of moving music from your PC to your iPhone, you may add some symphonic flare to your digital existence.
Also Read: How To Transfer File Between iPhone And Mac